June 9, 2012

Revamp old furniture to match a new color scheme!


Step One:

 Wrap about a foot of the cord in painters tape, or masking tape. 


 Then cover any other part of the lamp you don't want paint to get on. 

 When using spray paint be sure to cover anything you don't want paint to get on.
This is my set up! 

Step Two:

 This is the spray paint I'm using. I got it at Michael's for $3.50
 I chose to do 2 coats just to be safe. I let it sit for about an hour between the coats but you can let it sit for less-it should be dry after 30 mins. 


 Step Three: 

Remove the tape, replace the lightbulb and shade-you're done! 

I got my lamp shade at Big Lots for $5
I know the shade is a little small for the lamp, but I'm taking it to my dorm in the Fall so I thought it would work better to have a smaller one! 

Thanks for reading!

June 1, 2012

Quick Fix: Simple way to cover a logo on thrifted clothes!


 WHAT YOU WILL NEED:
-A ruler or cutting mat with measurements on it 
-A rotary cutter, or scissors
-Fabric glue (Michaels, $6.99)
-A fabric of your choice 
(I'm using a piece I cut off a pair of jeans from Salvation Army)

Step One:

Cut out a small piece of fabric.
 Align the sides to be sure they are all straight. 
 I'm cutting mine into a typical pocket shape so I'm using the 45 degree angle lines on my cutting mat to help me align my cuts. 

 Step Two:

Place the patch on the shirt where you want it and make sure it fits and covers what you want.
Make sure its straight! 

Step Three:

Start Gluing! 
 I recommend starting in the center and working your way out to ensure optimum fabric fusion.
This also helps to prevent excess glue seeping out the sides. 

When you've finished gluing let the fabric sit for 2 to 3 hours or until dry!  
Also, when you're gluing make sure the fabric is on a cleanable surface. There is a higher chance of the glue seeping through thinner fabrics so always be cautious. 

Denim Shirt- $2.99- Goodwill
Dark wash high waisted shorts- $29.95- Cotton On

Thanks for reading, more posts soon!
:)

May 29, 2012

Therapeutic Crafts: How to Make a Calm Jar!


WHAT YOU WILL NEED:
Glitter!!! You can use any shape, color and amount you want! This project is all about personalization and what makes YOU happy so feel free to add beads, gems, bells, anything you want! I personally like the sound my jar makes when it only has glitter in it so that's all I decided to add but feel free to add more! 
I don't know where this glitter is from, I found it in my room but you can find all kinds of glitter at Michaels, Hobby Lobby, and even Wal Mart! 

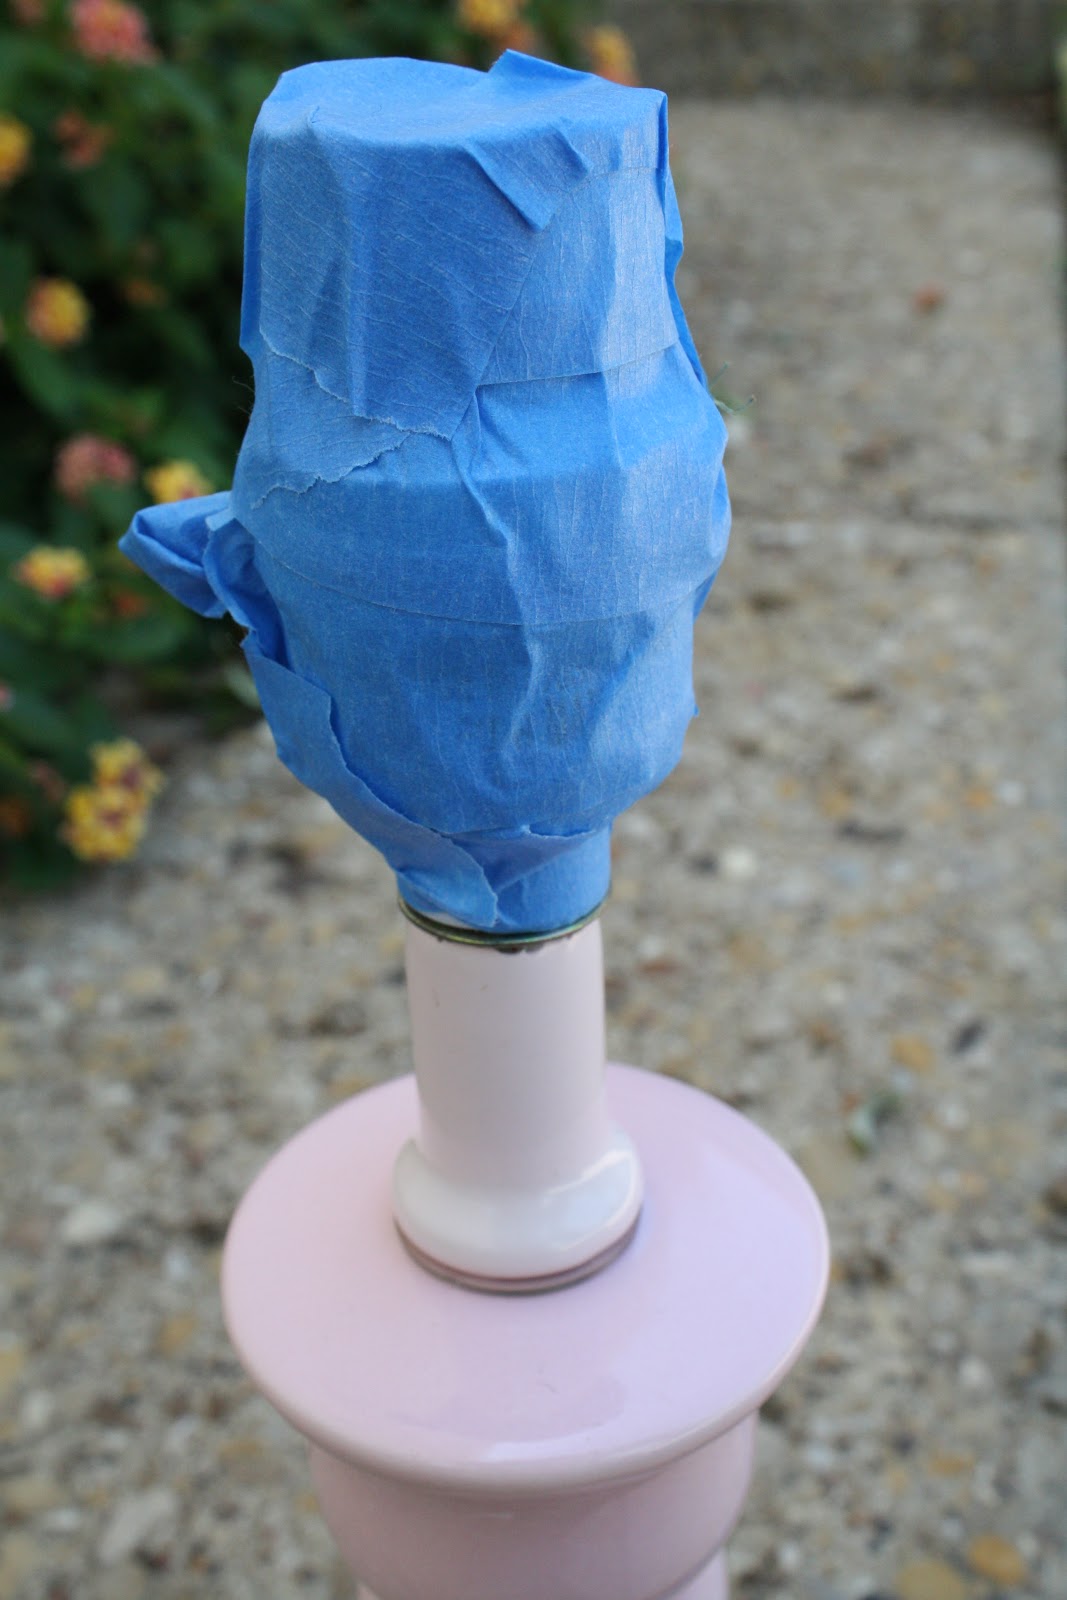
And of course you need a jar, I got this one at Michaels for $1.99. It's a self sealing Mason jar so it has the two part lid with a ring of rubber around it so I don't have to super glue it shut or anything. But, you definitely don't need a particular kind of jar, it can be as big or small as you want! 

Step One: 

 Fill the jar with water! 
You want to fill it almost to the top, the kind of water doesn't matter! 

 Step Two:

Pour your glitter into the jar!

You can use as much or as little glitter as you want, I used all the glitter shown in the first photo. 

Step Three:

SHAKE!
Shake your jar well and if you want to add more glitter, go for it!
Next you can add more water if you want. 

My glitter is pretty big, so it tends to clump together pretty quick, but I don't mind! I  think it would be pretty neat to make a jar with several different sizes of glitter! 

A friend suggested this project to me when I was talking to her about a class I was in where we got to mentor children at a local elementary school and I thought it would be a really great activity to do with the kids!
Sadly, I never got a chance to share this with them :( but, I always wanted to make one for myself. 
Calm jars are used differently by everyone who makes them, most use them as a way to calm down, hence the name! Anytime you feel anxious or stressed, give the jar a shake and just watch as the glitter floats down and try to focus on being calm.  For others, it can be a way to shake out frustration. Anytime you feel mad instead of doing something destructive, just shake the jar! 

Thanks for reading and I promise I will have many more posts very soon! 
I know its been a really long time since I last posted, I've just wrapped up my senior year of high school so I've been very busy! Please don't forget about me!
:)  

April 24, 2012

DIY: Transform a Mens Button Up into a Sleeveless "High-Low" Shirt!


 WHAT YOU WILL NEED:
-Scissors/rotary cutter

 STEP ONE

Smooth out the shirt and make sure the seems on the sleeves are aligned. Based on personal preference you can cut just behind the seem or just in front of it. 

After you cut one sleeve cut the other. You can line up the material to make sure you cut it in the same place if you want. 

It should look like this!

 STEP TWO

Now we're going to change the long straight hem into a high-low hem which makes it shorter in the front and longer in the back. 
First choose how long you want the shirt in the front, I'm cutting mine right above the last button. Then cut straight across a couple of inches and begin to angle your cut downwards as you reach the side seem of the shirt. 

After you reach the side seem cut straight down the seem to detach that piece of fabric. 

Turn the fabric over and line it up on the other side and cut along the edge of the fabric to ensure an even cut on both sides. 

Once that's done it should look like this. 

I went ahead and cut the hem off at this point. 
Next just continue cutting at an angle until you reach the edge of the fabric, it should make kind of an oval shape. 


when you finish one side, line the side seems of the shirt up so you can cut along the first edge to make it even. 

It should look something like this!

Shirt: Local Thrift Store: $1.99
Time spent: ~10 mins

*Not all high low hems will end up looking as drastic as this one, the shirt was pretty big on me and I have a pretty short torso so naturally, I cut mine shorter in the front. Just don't be discouraged if yours doesn't look exactly like my pictures! 
Also, you can use this technique on any button up shirt! I've done this to one of my dads old dress shirts, its pretty big but it still worked fine.*

Also a huge thank you to all my new followers!!! I really appreciate you all taking the time to look at my blog, please leave me a comment if there's anything specific you'd like to see from me!
More D.I.Y's to come! Thanks so much!
:)

April 21, 2012

Denim Shorts: From Frumpy to Fab!


WHAT YOU'LL NEED
-Tray or bucket to bleach the shorts in
-fabric dye in the colors of your choice
-squirt bottle for the fabric dye
-Scissors
-Gloves
-Sand paper
-Bleach

 Step One

Submerge the shorts in bleach 
Make sure you wear the gloves while bleaching the shorts or else your hands with smell like bleach for a very long time!! Not to mention its probably not the best for your skin. 
Keep the shorts submerged until they have reached your desired color. 
After they reach the lightness you want rinse the bleach out using a hose, a shower, sink or whatever you prefer. I suggest putting them through the rinse cycle in the washing machine ONLY AFTER you rinse them thoroughly. 

Step Two

 Mix your fabric dye according to the instructions on the box. I chose to use on of these ketchup-like squirt bottles that I found at Hobby Lobby. You can use a mist bottle or even a sponge or paint brush depending on your desired outcome. 

Lay your shorts out on a blanket that you don't mind getting dye on-I recommend doing this outside but still use the blanket so you don't dye the concrete. 


It's pretty much up to you to put the color where you want, you can do it really neat but I just kind of let it go wherever. 

Blue!


After you've finished with the dye, let it sit on the shorts for 30 mins to an hour. 
After that rinse them under cold water until the water runs clear. Again you can put them through the rinse cycle in the washing machine, but you should probably rinse them first. After you've rinsed them hang them and let them dry thoroughly over night 
You can put them in the dryer if you choose, I just didn't want mine to shrink. 

Step Three

After you've rinsed them a lot of the dye is going to come out.


But now I'm going to distress them using two methods: 

First I'm going to sort of "rake" my scissors across the seems to add a little distressing around the pockets and the legs. 

Then I used some sand paper to rub holes into the fabric. 
You can distress the denim before you bleach or dye it but I recommend waiting until after you bleach them because the distressing will be easier as the denim will be broken down a little from the bleach. 

 And you're done!! 


Jeans: Salvation Army- $3.99
Dye: Hobby Lobby- $2.29
Bottle: Hobby Lobby- $1.29

Time spent: ~3hrs

Thanks for reading!
Let me know if you have recommendations of what you'd like to see next!